The Genesis of the Touch Piano Project
The project began as a fundamental exploration of capacitive sensing technology. In its earliest iteration, the instrument was constructed using little more than strips of copper foil tape, an Arduino microcontroller, and a tangle of jumper wires. This "proof of concept" phase focused on the core physics of capacitance—the ability of a system to store an electric charge. In a capacitive touch interface, the human finger acts as one plate of a capacitor. When the finger approaches or touches a conductive surface (in this case, the copper foil), it changes the local electrostatic field. The microcontroller detects this change in capacitance and translates it into a digital signal.
For Rajagopal, the challenge was not merely detecting a touch, but doing so with the speed and reliability required for musical performance. Latency—the delay between a physical action and the resulting sound—is the primary enemy of any digital instrument. The initial prototype served as a testing ground for various libraries and sensing algorithms, proving that a low-cost, DIY solution could indeed function as a responsive interface.
Technical Evolution: From Breadboard to Custom PCB
As the project moved beyond the experimental stage, the limitations of copper foil and jumper wires became apparent. The "scrappy" nature of the first build led to issues with signal noise and physical durability. To address these concerns, Rajagopal transitioned the design toward a more permanent and professional architecture. This evolution involved the development of a custom Printed Circuit Board (PCB), a move that significantly reduced electromagnetic interference and allowed for a more compact, ergonomic form factor.
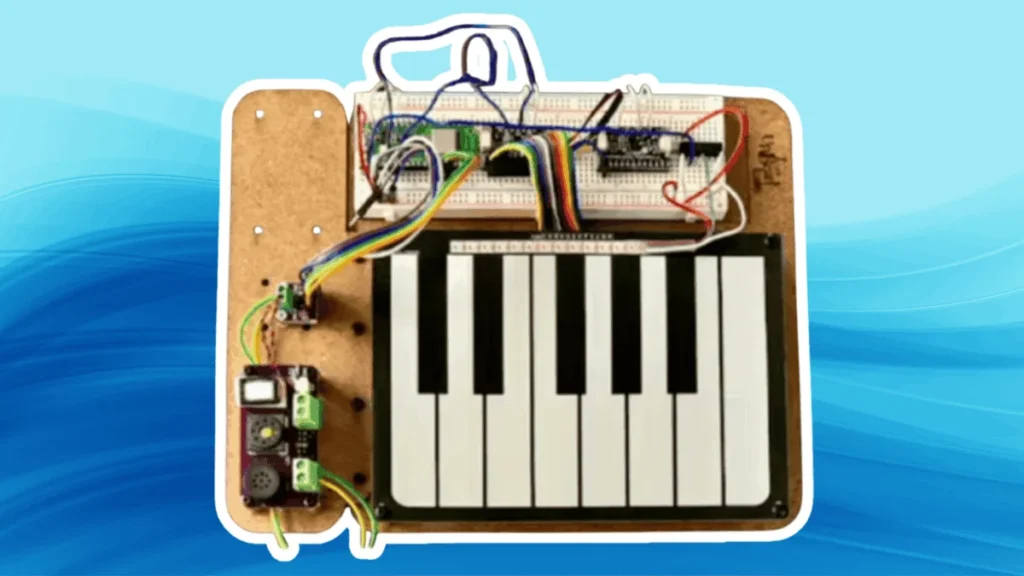
The current iteration of the DIY Touch Piano is a sophisticated 3-octave instrument. By integrating a custom PCB, Rajagopal was able to incorporate several advanced features that would have been difficult to manage on a breadboard:
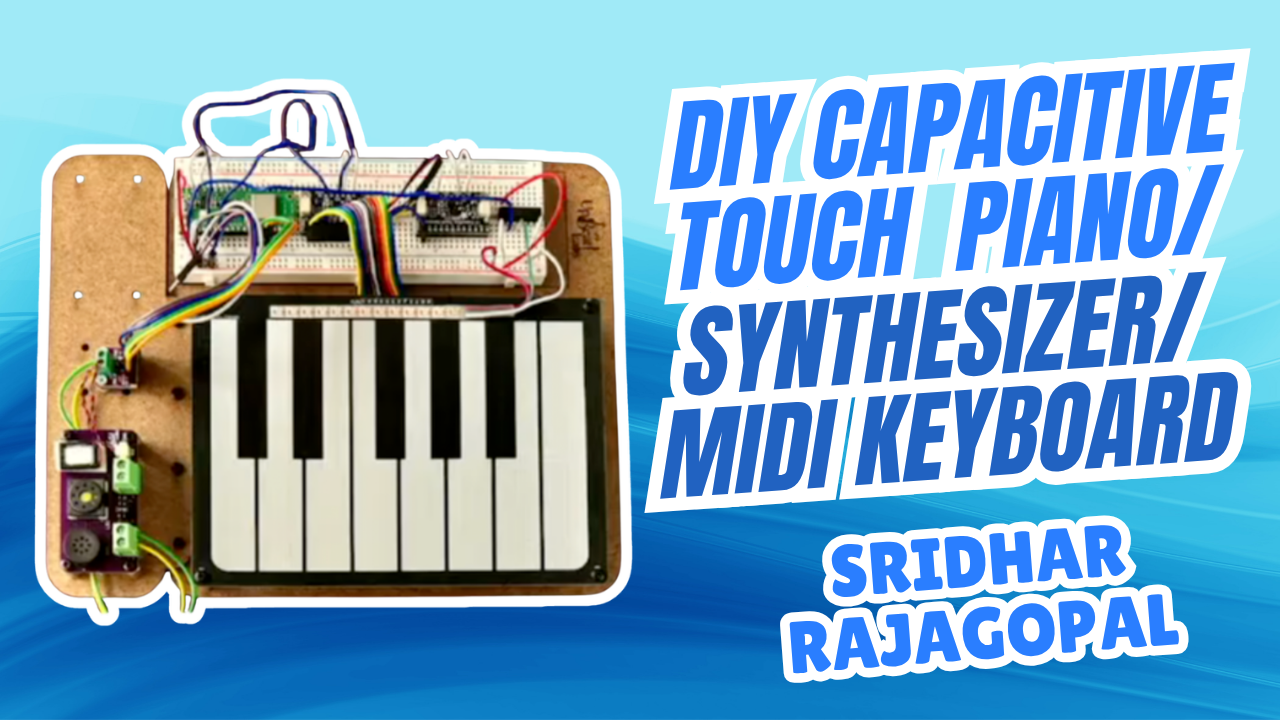
- Addressable RGB LEDs: Each key is paired with an LED that provides immediate visual feedback. This is not merely aesthetic; it serves as a pedagogical tool for scales and chords, and provides the performer with a clear indication of which "keys" are being triggered in low-light environments.
- Onboard Amplification: Unlike the first version, which relied on external speakers or headphones connected to a computer, the refined model includes an integrated amplifier and speaker system, making it a standalone synthesizer.
- USB MIDI Support: By utilizing microcontrollers with native USB capabilities, the piano can function as a standard MIDI controller. This allows it to interface seamlessly with Digital Audio Workstations (DAWs) like Ableton Live, Logic Pro, or GarageBand, effectively giving the user access to an infinite library of digital sounds.
The Significance of Maker Faire Bay Area
The public unveiling of the project’s evolution took place at Maker Faire Bay Area 2025. Maker Faire, often described as "The Greatest Show (and Tell) on Earth," has served as a global platform for grassroots innovation since its inception in 2006. The Bay Area event remains the flagship gathering, drawing thousands of engineers, artists, and educators.
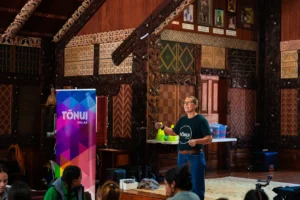
Rajagopal’s presentation was more than a product demonstration; it was an educational session on the "Maker’s Journey." He detailed the specific hurdles encountered during the design process, such as debouncing touch signals and managing the power requirements of multiple addressable LEDs. These technical insights are invaluable to the maker community, where the transition from a working prototype to a finished, reliable device is often the most difficult phase of development.
Looking forward, Rajagopal is scheduled to return to the stage at Maker Faire Bay Area 2026, held from September 25-27. His upcoming talk, titled "Physical Interfaces for Music," is expected to dive deeper into the ergonomics of instrument design and the future of human-computer interaction in the arts.
Broader Implications for DIY Electronics and Education
The success of Rajagopal’s touch piano reflects a broader trend in the democratization of hardware engineering. Tools that were once reserved for professional engineering firms—such as PCB design software (KiCad, EasyEDA) and affordable small-batch manufacturing—are now accessible to individuals. This has led to a surge in "bespoke" electronics, where creators build specialized tools tailored to their specific needs rather than relying on mass-produced consumer goods.
Furthermore, this project exemplifies the STEAM (Science, Technology, Engineering, Art, and Math) educational framework. By combining music (Art) with capacitive sensing (Science) and PCB layout (Engineering), the DIY Touch Piano serves as a compelling case study for interdisciplinary learning.

According to industry data, the global DIY electronics market has seen a compound annual growth rate (CAGR) of over 12% in the last five years. This growth is driven by the increasing availability of open-source hardware and the proliferation of online learning platforms. Projects like Rajagopal’s are at the forefront of this movement, proving that the barrier to entry for creating complex electronic systems continues to lower.
Analysis of the "Physical Interface" Philosophy
The core of Rajagopal’s work lies in the philosophy of the "interface." In his view, the way we interact with technology should be as expressive and intuitive as possible. Traditional keyboards rely on mechanical switches, but capacitive touch offers a different tactile experience—one that is fluid and requires minimal physical force.
However, the lack of tactile "travel" in a touch-sensitive key presents its own set of challenges for musicians who rely on haptic feedback. Rajagopal’s use of visual feedback (the RGB LEDs) is a strategic response to this challenge, replacing physical movement with visual confirmation. This highlights a critical aspect of modern engineering: when one sensory input is removed, another must be enhanced to maintain the user experience.
Chronology of Development
The timeline of the DIY Touch Piano’s development serves as a blueprint for iterative design:
- 2022–2023: Initial experiments with copper foil and Arduino capacitive touch libraries. Focus on reducing latency and understanding the impact of different surface materials on touch sensitivity.
- 2024: Development of the first integrated prototype. Addition of basic MIDI functionality and the transition to a more robust microcontroller to handle polyphony (the ability to play multiple notes at once).
- 2025: Presentation at Maker Faire Bay Area. The project reaches its current state with a custom PCB, integrated audio, and full RGB support. Rajagopal shares the design files and code with the maker community to encourage further iteration.
- 2026 (Upcoming): Expansion of the project into the "Physical Interfaces for Music" series. This phase will likely explore new sensor types, such as pressure-sensitive resistors (FSRs) and gesture control, to further expand the instrument’s expressive capabilities.
Conclusion and Future Outlook
Sridhar Rajagopal’s journey from a simple strip of copper foil to a professional-grade custom PCB is a testament to the power of iterative design and the vibrancy of the maker movement. By documenting and sharing the evolution of his DIY capacitive touch piano, Rajagopal provides both the technical framework and the inspiration for the next generation of hardware creators.

The project stands as a reminder that the most sophisticated tools often have humble beginnings. As the maker community continues to grow, the focus is shifting from "how to build" to "how to refine." The transition from breadboards to PCBs, as demonstrated by Rajagopal, represents the professionalization of the hobbyist, where the goal is no longer just to make something work, but to make it work reliably, beautifully, and expressively.
As we look toward Maker Faire Bay Area 2026, the focus on physical interfaces suggests a future where the line between the digital and the physical continues to blur, allowing for more organic and human-centric ways of creating music and interacting with the world around us. For those interested in the technical specifics or the journey itself, Rajagopal’s work remains a primary reference point in the field of DIY musical instrumentation.